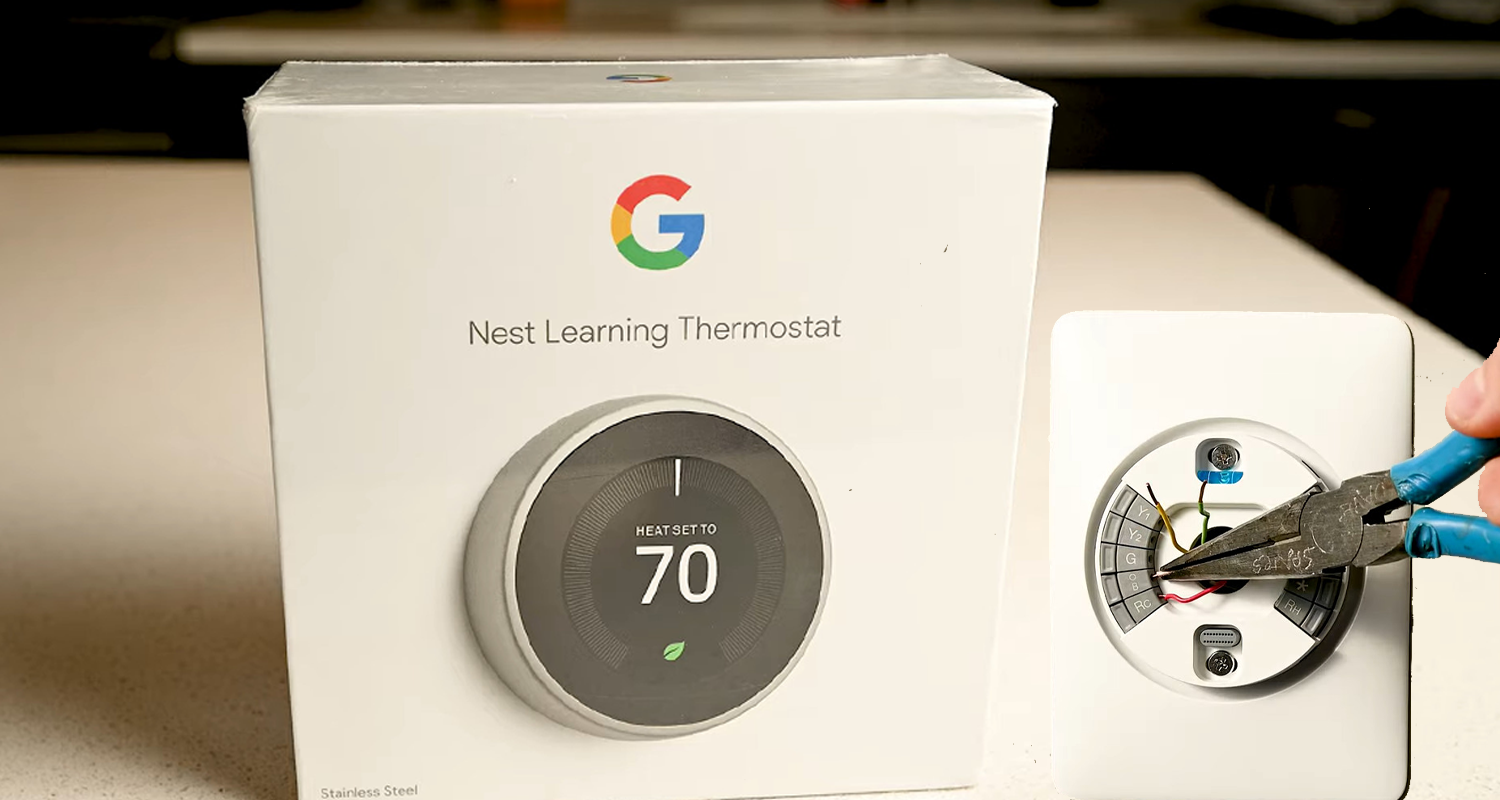
The smart home revolution is well underway, and at the forefront of this movement is the Nest Thermostat. Known for its sleek design, ease of use, and energy-saving capabilities, the Nest Thermostat has become a popular choice for homeowners looking to upgrade their home’s heating and cooling systems. But beyond the installation process, what impact does this device have on your home? In this blog post, we’ll walk you through how to install a Nest Thermostat and explore the significant benefits it brings to your living environment.
Step-by-Step Installation Guide
1. Prepare for Installation
- Turn Off Power: Before starting, ensure the power to your HVAC system is turned off to avoid any electrical hazards.
- Gather Tools: You’ll need a screwdriver, the Nest Thermostat unit, and the installation guide that comes with it.
2. Remove the Old Thermostat
- Take a Picture of Wiring: Before disconnecting your old thermostat, take a clear photo of the wiring setup. This will be useful when connecting the Nest.
- Label Wires: Use the included labels to mark each wire according to its terminal connection.
3. Install the Nest Base
- Attach the Base Plate: Secure the Nest base plate to the wall using the screws provided. Make sure it’s level.
- Connect the Wires: Following your photo and the labels, connect the wires to the corresponding terminals on the Nest base.
4. Attach the Nest Display
- Snap On the Display: Once the base is secure and the wires are connected, attach the Nest display to the base. It should click into place easily.
5. Power Up and Set Up
- Turn the Power Back On: Restore power to your HVAC system and watch the Nest power up.
- Follow On-Screen Instructions: The Nest will guide you through the setup process, including connecting to Wi-Fi and setting your desired temperatures.
6. Download the Nest App
- Control from Anywhere: Download the Nest app on your smartphone to control your thermostat remotely, monitor energy usage, and adjust settings on the go.
The Impact of Installing a Nest Thermostat
1. Energy Savings
- Smart Learning: The Nest Thermostat learns your schedule and temperature preferences, automatically adjusting the temperature when you’re away or asleep. This feature can significantly reduce energy consumption and lower utility bills.
- Energy Reports: Nest provides monthly energy reports, helping you understand your energy usage patterns and make informed decisions to save more.
2. Enhanced Comfort
- Remote Control: With the Nest app, you can adjust your home’s temperature from anywhere, ensuring your home is always comfortable when you arrive.
- Temperature Scheduling: Set up schedules that fit your lifestyle, so your home is always at the perfect temperature when you need it.
3. Environmental Impact
- Reduced Carbon Footprint: By optimizing your home’s heating and cooling, the Nest Thermostat helps reduce your carbon footprint, contributing to environmental sustainability.
- Eco Mode: Nest’s Eco Mode automatically sets the temperature to an energy-efficient range when you’re away, further reducing unnecessary energy use.
4. Increased Home Value
- Smart Home Appeal: As smart homes become more popular, having a Nest Thermostat can increase your home’s appeal to potential buyers. It’s a small investment that can enhance your home’s marketability.
- Integration with Other Smart Devices: The Nest Thermostat can be integrated with other smart home devices, creating a seamless, interconnected home environment that is attractive to tech-savvy buyers.
Conclusion
Installing a Nest Thermostat is more than just a home improvement project; it’s a step towards a smarter, more energy-efficient lifestyle. The installation process is straightforward, and the impact on your home is profound—from saving money on energy bills to enhancing your home’s comfort and value. Whether you’re a tech enthusiast or simply looking to make your home more efficient, the Nest Thermostat is a worthy addition to your smart home ecosystem.


